How to Resize an Image in Paint 3D (2026 Guide)
Resizing in Paint 3D happens in the Canvas tab. The key setting is Resize image with canvas: leave it on to scale the whole picture, or turn it off to only change the canvas around it. To trim part of a photo away instead, follow our Paint 3D crop guide.
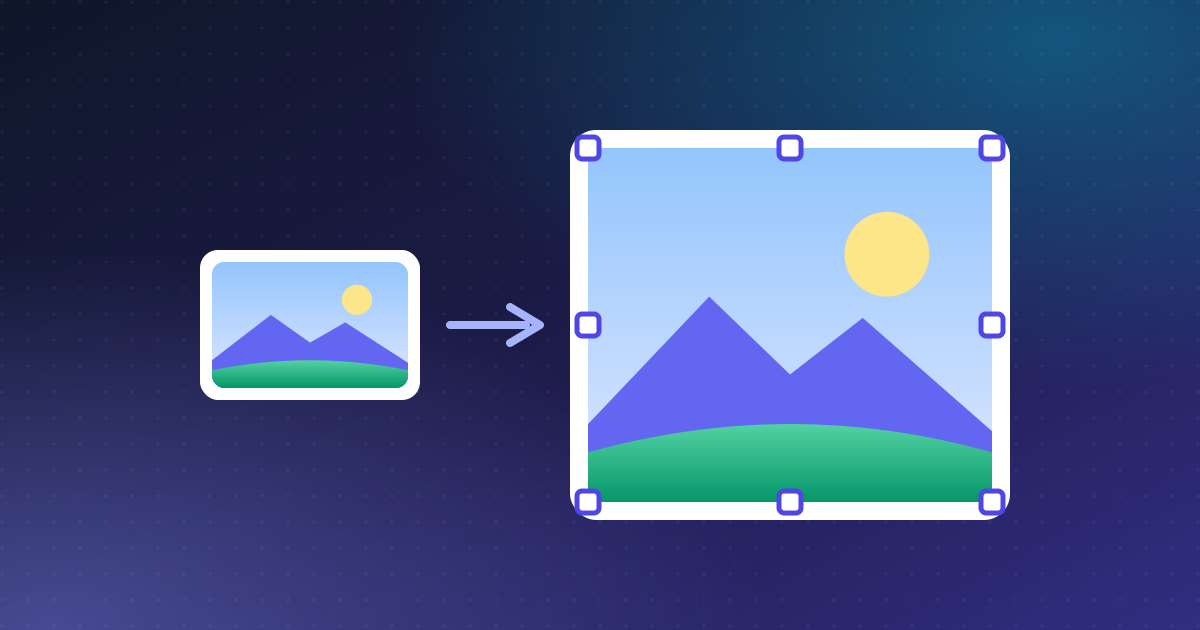
Resize an image step by step
- Open your image with Menu > Open > Browse files.
- Click the Canvas tab in the top toolbar.
- Make sure Resize image with canvas is ticked.
- Tick Lock aspect ratio so the picture keeps its proportions.
- Choose Pixels or Percent from the dropdown, then type the new width. The height updates automatically.
- Save with Menu > Save as > Image.
Pixels or percent?
| Use | When |
|---|---|
| Pixels | You need an exact size, such as 1200 px wide for a website or 1080 x 1080 px for a square post. |
| Percent | You want to shrink or enlarge proportionally, such as 50% to halve the file size. |
Avoid blurry results: enlarging a small image beyond its original size always softens it. Shrinking is safe; enlarging more than about 150% usually looks blurry.
Resize a single object instead
To resize one sticker, shape, or 3D model without touching the rest of the image, click it to select it and drag the corner handles of its selection box. Learn more about working with objects in our Paint 3D beginner guide.
FAQ
Why did my image get cut off when resizing?
“Resize image with canvas” was switched off, so only the canvas changed. Undo with Ctrl + Z, tick the option, and resize again.
How do I reduce the file size of an image?
Resize it smaller in the Canvas tab, then save as JPEG instead of PNG. JPEG files are usually much smaller for photos.